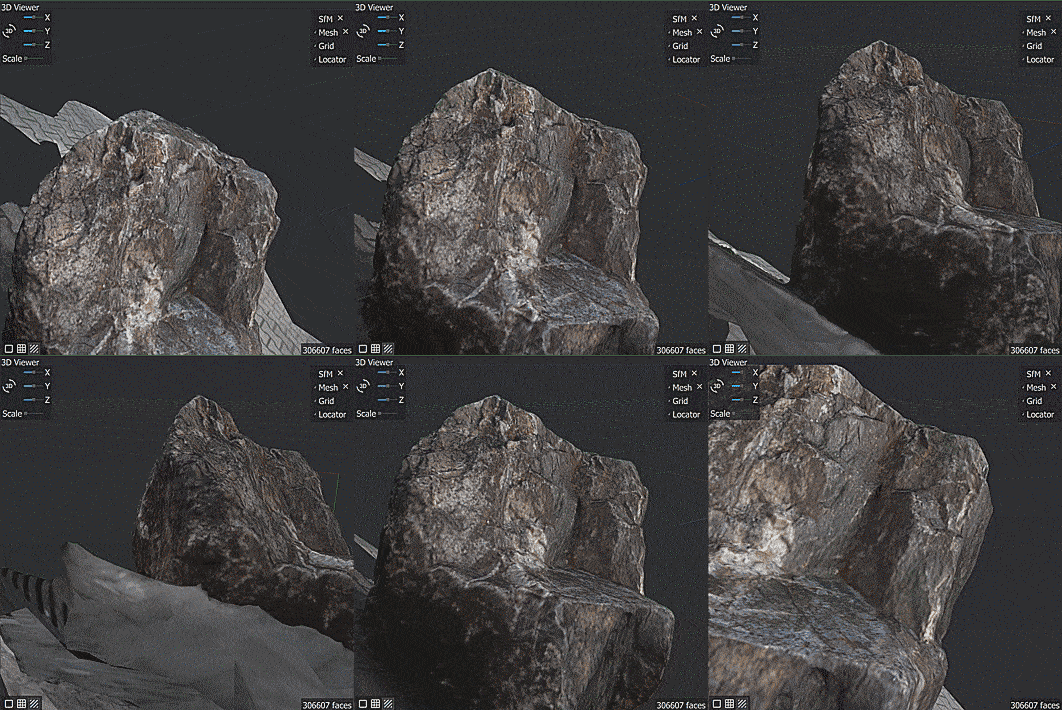
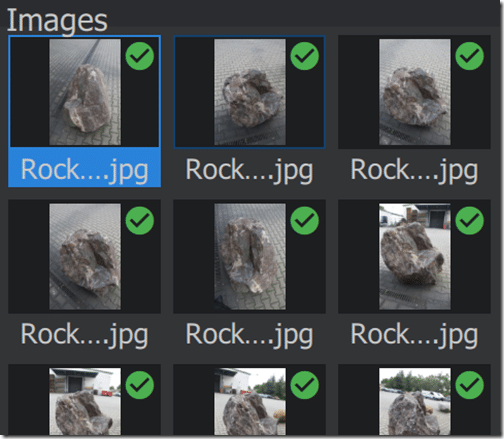
Meshroom is a new, free and open source photogrammetry software from AliceVision. Photogrammetry software enable you to create a 3D scene using a series of photographs, generally the more the merrier. Currently documentation is a bit lacking, so I’ve decided to create this quick tutorial. In this tutorial we are going to quickly walk through the process of using Meshroom using a photo set available here. That post links to a zip file containing 50 images that are confirmed to work with Meshroom. Simply extract them somewhere on your drive. Of course you need to download Meshroom, which is available for download right here. Simply download the archive, extract then execute the Meshroom application. Note Meshroom requires a CUDA GPU and works on Windows and Linux! So this process will only work on nVidia GPUs, at least as of time of writing.
Once you’ve got Meshroom loaded, follow the following simple steps.
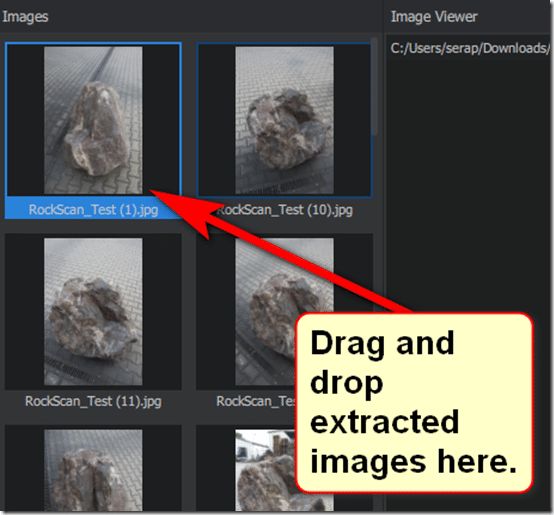
Drag extracted images into the Images pane on the left.
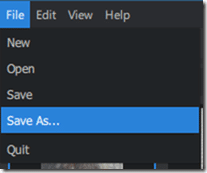
Save your project somewhere
Click the green Start button.
As it’s running, you will see the progress across the top:
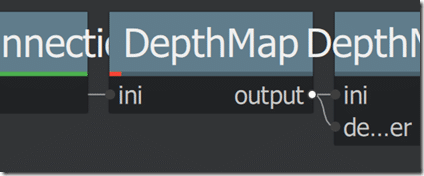
This bar indicates a problem occurred. You can divine more details by locating the current task in the Graph, like so:
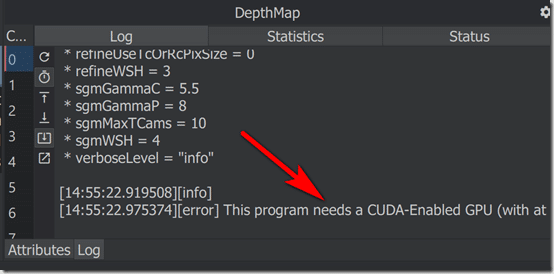
With the node selected, check the Log (bottom right corner) for details. This is the error message you receive if you run the process on a non-CUDA (nVidia) GPU. Keep in mind, it can also be caused by the process running on a laptop with Optimus, not automatically selecting the right GPU.
Hopefully however you encounter no such errors and the process is entirely green. On the bright side, it should pick right up where the error occured if you run the project again in the same directory, as Meshroom caches the results of each step as it goes. You will find the vast majority of time is spent on the DepthMap section, this is normal. As the process continues, you should start seeing results in the 3D viewer.
You can pan, zoom and orbit the mouse using the LMB, scroll wheel and MMB respectively. More detail in the point cloud will fill in as the process runs. Once it completes successfully, you will see a button Load Model.
You can now preview the results of your effort!
A few steps in, it will have evaluated all of your photos, acceptable/usable photos will be marked with a green checkmark.
Review the remaining photos for flaws and inconsistency if you run it again.
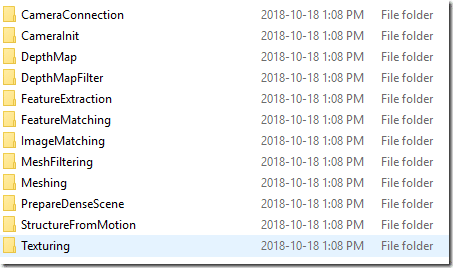
Go make some tea… it’s going to be between 10 minutes and an hour depend on the speed of your machine. Once the process is complete, there will be a folder called MeshroomCache, with the following contents:
This is a folder with all of the output files from each step in the process. Generally what you are going to be interested in is the obj, mtl and texture file in the Texturing folder. This can be imported into your 3D modelling application of choice, the obj format is fairly universal. The resulting mesh is extremely dense and you may consider checking out Instant Meshes for optimizing the results.
Now that you know it works, it’s time to start refining the process or providing your own picture set. I would recommend the following tips from my own experience:
- use an actual camera, not a phone. I got terrible results from my Pixel phone, but my Canon DLSR gave much better results. YMMV
- DO NOT green/white screen your background. Unique markers in the background help Meshroom position each virtual camera
- try to get the entire object in frame on each shot
- get rid of any image with any blurring
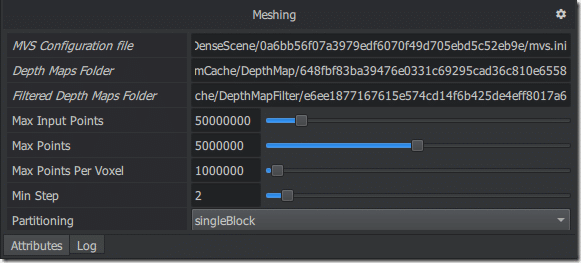
So far we just default settings in the Graph Editor. This graph represents a graph of nodes in the process, one for each directory shown in the screenshot above. Note when you select a node, there are a number of properties you can edit:
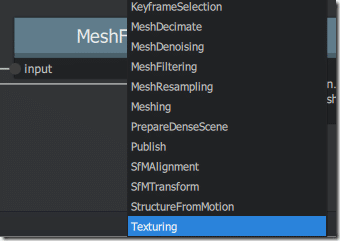
You can also connect pins to multiple nodes to create multiple results. For example, if you wanted to create a set of TFF and lower resolution PNG textures, you can do the following. Right click the graph editor and select Texturing:
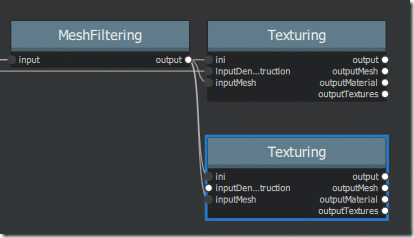
This will create a new node in the graph. Now drag the output node from MeshFiltering and connect it to ini and inputMesh.
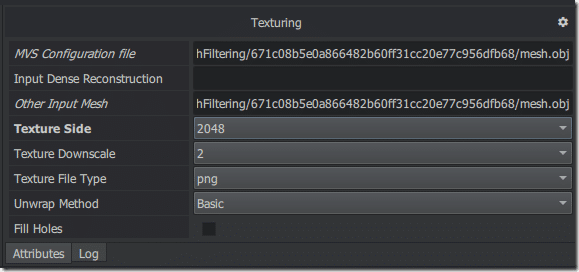
Select the new Texturing node and have it create a lower detail texture set:
Now when it runs, it will create two sets of textures for you. Note there are other nodes such as Decimation that aren’t in the process by default. You can see the entire thing in process in the video attached below:

