We covered viewports a while back but now we are going to go into a bit more detail, as it’s an important subject.
There is a 1080p version of this tutorial available here. Please note, the full screen portions didn’t display properly in the video.
One very important thing to understand is, the very root of your scene, the node that owns all of the nodes in a scene, is ultimately a viewport. Consider this hierarchy:
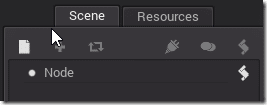
In that node if you run the code:
func _ready():
   print(get_node("/root"))
You will see:

So, no matter how you create your scene, you will always have at least one viewport. On the other hand, you can create more viewports within the scene as we will see later.
Full Screen Applications
It’s possible to set your application to run full screen, both using code or in the application settings. To do it with code, create a new autoload script as described here. This is a script, derived from node, that gets run automatically when your game launches. Use the following code:
extends Node

func _ready():
   var root = get_node("/root")
   root.connect("size_changed",self,"resize")
   OS.set_window_fullscreen(true)
   set_process_input(true)

#Event called when viewport size changed
func resize():
   var root = get_node("/root")
   var resolution = root.get_rect()
   print(resolution)

#Input handler, listen for ESC to exit app
func _input(event):
   if(event.is_pressed()):
      if(event.scancode == KEY_ESCAPE):
         get_tree().quit()
Of course this code does a lot more than just set the application full screen. Due to the app going full screen, it is no longer easy to close the window, so I’ve also wired in some code to handle shutting down if the user hits Esc. There is also an event handler connected to fire when the resolution changes, we simple print the resolution to the console when it changes.
You can accomplish the exact same thing (much easier) using project settings, like so:

Please note there are two check boxes to enable! First you need to enable the fullscreen setting, then you need to turn it on.
Viewport Scaling
Now to illustrate how resolution works in Godot, I’ve created a Sprite Node( not centered, at 0,0 ) using this image, which illustrates the various screen resolutions.
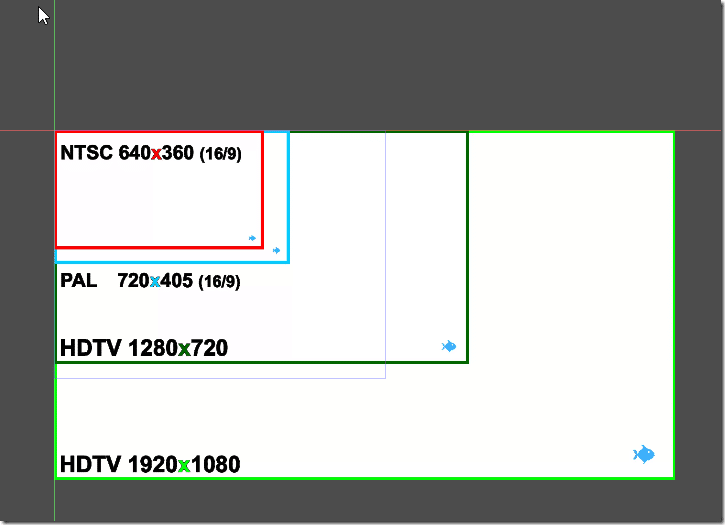
The actual image is 1920×1080 in size, so it should show us the results that various settings have on our game. Here is a run, using default settings on my laptop which has a 1600×900 display.
The following display settings are very important.
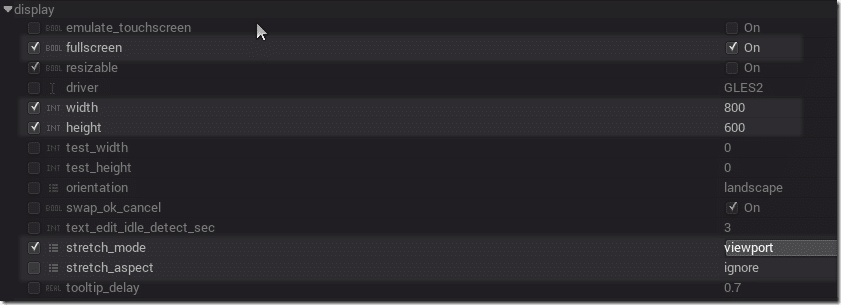
The following screenshots are all scaled down but maintain the aspect ratio of the source image. The Viewport setting has a profound effect on the results. The options are:

Viewport == disabled. Resolution is 1600×900 ( my native resolution ) and display resolution settings ignored.
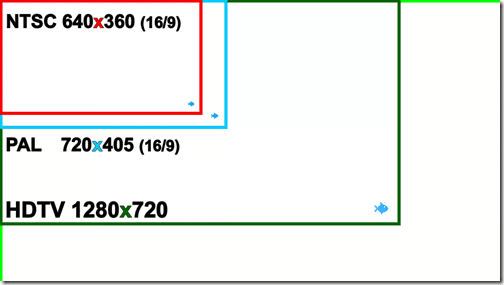
Mode == 2d. Image size is 1600×900.
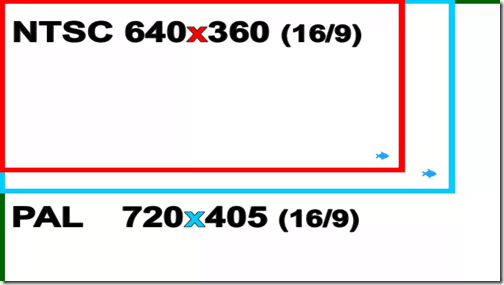
Viewport stretch mode. Image size is 800×600.
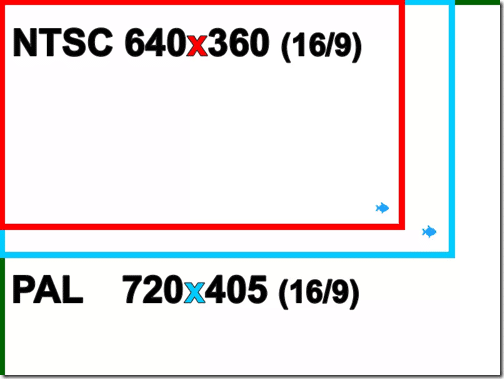
It’s the ultimate results that make the difference. When viewport is set to disabled, the width/height are ignored completely and the resolution of the device is used. In viewport set to 2D, the width and height are used and the results are simply scaled up (or down) to match the resolution of the actual device. While in Viewport, the results are actually scaled down to the resolution specified. This means our actual render results are at 800×600 ( or whatever resolution you specified ). You would generally use this last mode if you were trying to create a pixel perfect game, or if you are trying to render to a lower resolution to improved performance. Keep in mind on most machines the results will look somewhat horrible.
Handling Aspect Ratios
Now this resizing works great when you are dealing with the same aspect ratios, but once they start changing, it has a much more pronounced effect. For example, content designed for a 4:3 screen ( iPad ) will look horrible on a 16:9 screen ( Galaxy Note ) for example. You also need to decide HOW you are going to deal with different aspect ratios. This isn’t a new problem, people watching single def signals on HD displays have been dealing with this issue for years.
I created a new Sprite, this time using a sprite 379×124 pixels in size, like so:
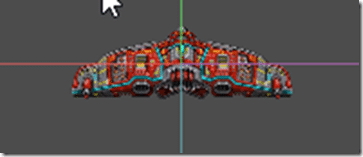
Then automatically position it in the center of the viewport on load:
func _ready():
   self.set_pos(Vector2(get_viewport_rect().size.width/2,
                get_viewport_rect().size.height/2))
As mentioned earlier, my laptops native resolution is 1600×900, so everything looks fine with an HD resolution. For example, here is the result rendered at 1280×720 full screen (but scaled down on the blog):
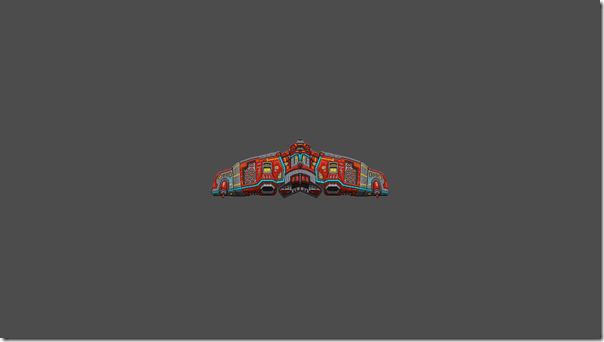
Looking good! Now lets try 640×480, a not so HD aspect ratio:
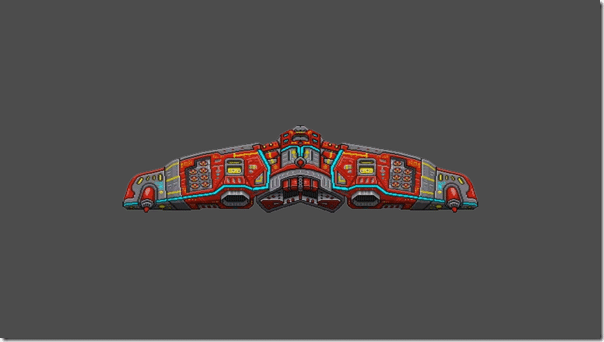
Ewwww…. ok… obviously not what we want. The result of the resampling to fit a 640×480 image on a 1600×900 screen as stretched our ship almost to the point of being unrecognizable.
You do however have options here, once again under display settings called stretch_aspect.

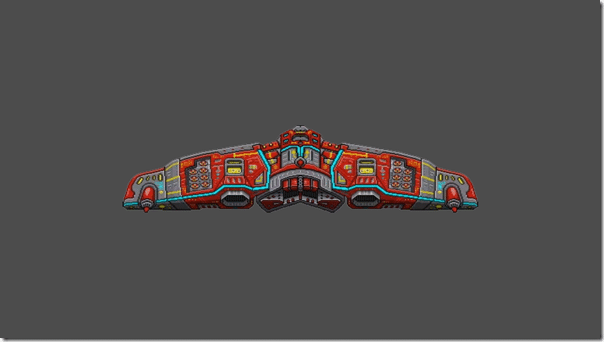
Lets see the result on our 640×480 scene:
ignore
keep
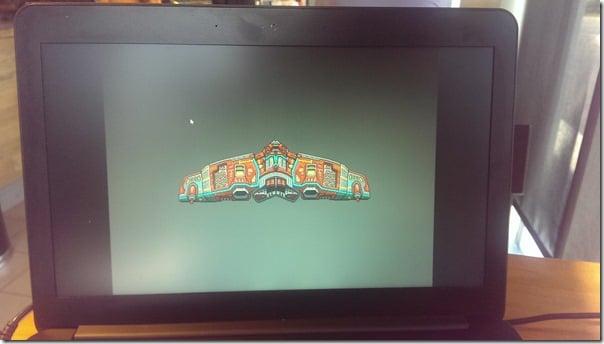
keep_width
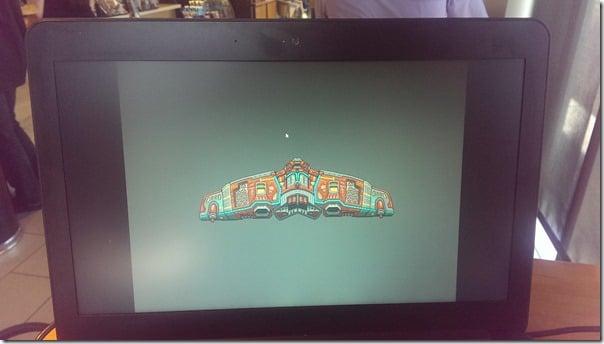
keep_height
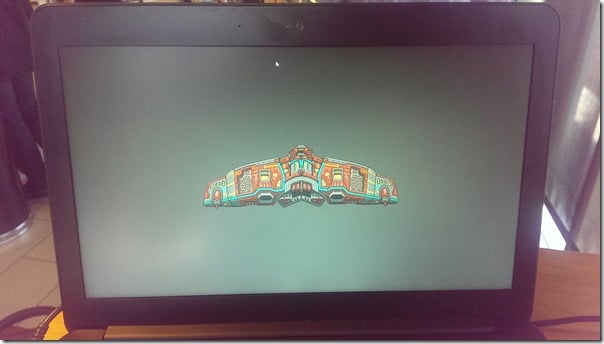
You may notice the pictures are literally camera shots of my laptop. This is because the screenshots don’t capture the black bar portions of the image.
Basically you can choose to simply rescale the aspect ratio, which causes the sprites to distort if the source and destination resolutions don’t have a similar aspect ratio. Choosing Keep will cause it to keep the aspect ratio specified and generate black bars, either horizontally or vertically, whichever is needed. You can also tell it to keep the height or the width aspect ratio. The remaining dimension ( height if you chose Keep_width for example ) will then be scaled to fit, causing distortion in that direction.
Sub-Viewport
As mentioned earlier, the root node in the scene is always a viewport. You can however create a viewport node within the scene or embedded within another node.
Consider this hierarchy of Nodes for example:
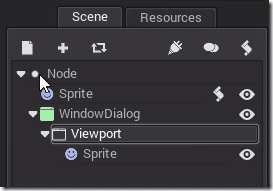
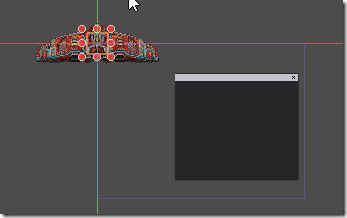
In the Editor it looks like a complete mess:
But when you run it, you can immediately see the results:
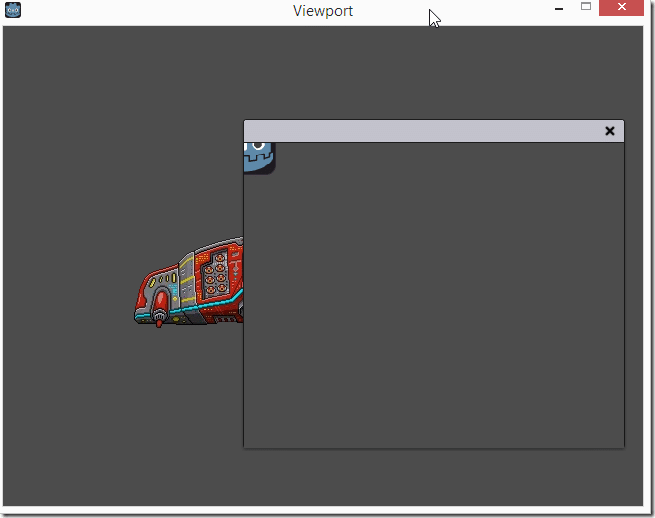
The nodes added to the child viewport are positioned relative to, and rendered within that viewport.
Cameras
The Camera2D class in Godot is mostly just responsible for manipulating the transform of the viewport. A Camera automatically applies itself to the closest viewport above it in the node hierarchy, and if there isn’t one, it affects the root node instead. Only one camera can be active at a time per viewport.
Otherwise using a camera is extremely simple. Consider a scene like this that extends beyond the viewport:
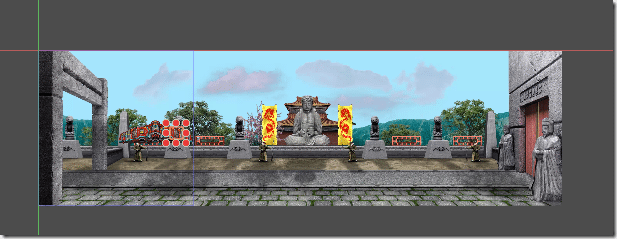
Simply drop a Camera2D node into the scene:
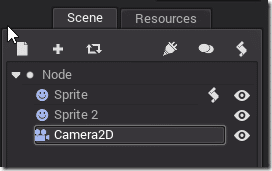
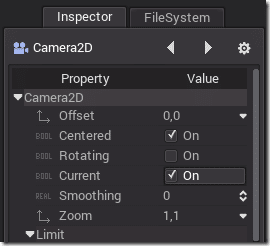
Set Current To On
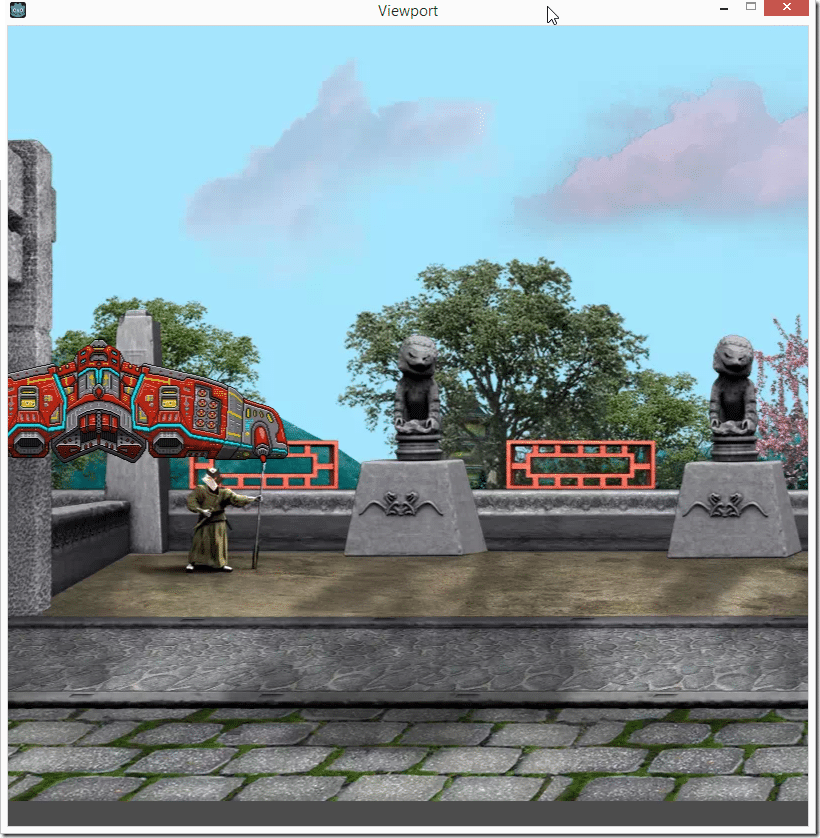
And your view will automatically update to represent the camera’s position
Taking a Screen Shot
When running full screen, capturing a screen shot can become a bit tricky. I got around it by handling the logic in code. If you are interested, here is how I captured a screenshot using Godot:
   if(event.scancode == KEY_SPACE):
         print("Screenshot")
         get_viewport().queue_screen_capture()
         yield(get_tree(), "idle_frame")
         yield(get_tree(), "idle_frame")
         var screenshot = get_viewport().get_screen_capture()
         screenshot.save_png("user://screenshot.png")
The location of “user://” is going to change from platform to platform. On Windows 8.1 the screenshot was located at C:UsersMikeAppDataRoamingGodotapp_userdataViewport on my computer. On Linux, check for a directory named .godot in your home directory.
The command queue_screen_capture() doesn’t happen immediately. This is why we yeild two frames before calling get_screen_capture(), which will have the results of queue_screen_capture() or return an empty image if it hasn’t occurred yet.
