This guide will run through the process of creating and building an Android host for use with Moai.
There are a number of installs and configurations you need to perform before you can build Moai for Android. If you need details on any of the individual steps, click the link to jump to more details on that part of the process. If you think it seems like quite a list… you are right, it is! Fortunately, you only have to do it once!
In order to build the Android host you need to:
- Install cygwin and git
- Install the Java JDK and set the JAVA_HOME variable
- Install the Android SDK, Eclipse and ADT
- Install Android NDK and add to PATH
- Install Ant and set ANT_HOME directory
Install and configure all of those items before continuing these instructions. Seriously, you need everything above, so install and perform every configuration step, or the following is guaranteed to fail!
Creating an Android Host
Open a cygwin terminal
Change directory to where you want to install the Moai source code. I am going to install to C:, which under cygwin is /cygdrive/c, so:
cd /cygdrive/c
Now run git to download the newest Moai source code, enter:
git clone git://github.com/moai/moai-dev.git
Let git run, it will download and clone the most recent source code to the folder c:moai-dev. Make a cup of coffee, it might take a few minutes.
Now we want to build our Android host, to do so, change into the folder c:moai-devant and run the script make-host.sh. You pass in the name of the package you want to be created in Java form ( reverse url, com.yourdomain.yourappname ) like so:
cd /cygdrive/c/moai-dev/ant
./make-host.sh –p com.gamefromscratch.moai
It should run and complete without issue. Should being the operative word, in my case, I was actually getting a permission denied error on one the library files. A quick chmod 644 permission setting on the file fixed that issue. Once the script completes, it will have created a directory in the /ant folder called untitled-host.
In untitled-host, locate and edit the file settings-local.sh, locate the the line android_sdk_root and edit it to match the path to your android sdk ( note, SDK not NDK! ), mine looks like:
android_sdk_root=”/cygdrive/c/android-sdk”
Then scroll down to the section src_dirs and set it to the directory containing your Lua project, such as:
src_dirs=( “cygdrive/c/luasource” )
Save your changes and exit.
Now optionally edit settings-global.sh. Most importantly, locate the line:
requires=( “miscellaneous” “adcolony” “google-billing” “chartboost” “crittercism” “facebook” “google-push” “tapjoy” )
and change it to just:
requires=( “miscellaneous” )
Unless you specifically need to include those libraries. Tapjoy and Facebook are currently broken though, so if you include them, you will have trouble later! You can optionally set your app name, version number, icon names, etc at this point. (Actually, this part seems to be ignored anyway…)
Save settings-global.sh and exit.
Not type ( in the untitled-host folder ) :
./run-host.sh
So long as you didn’t get any errors, your project should now have been created.
Loading and running the generated project in Eclipse
Fire up Eclipse.
Select the menu File->Import…
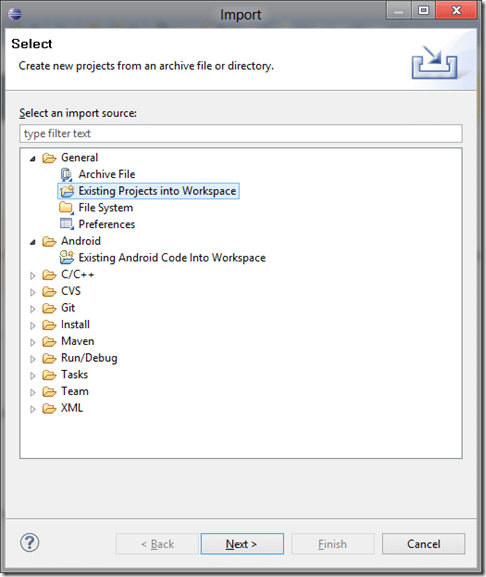
Select General->Existing Project into Workspace, like so:
Click Next.
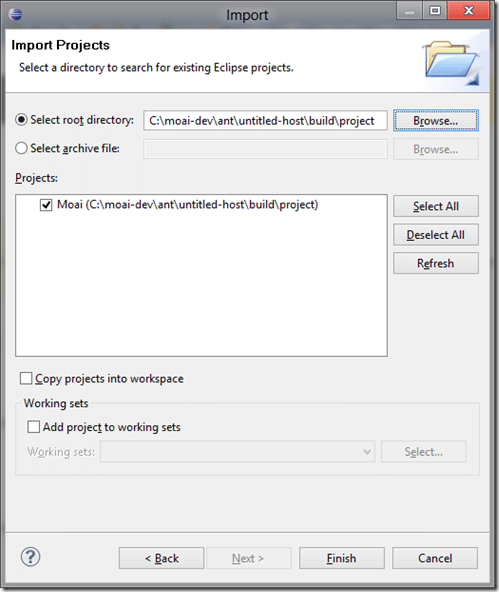
Check Select root directory and navigate to c:moai-devantuntitled-hostbuildproject like so:
Click Finish.
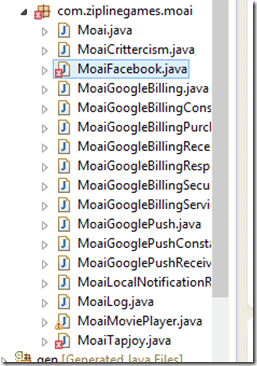
As you can see, even though you said you didn’t want them, Facebook and Tapjoy are still included, and are still broken.
Right click and choose Delete for each one.
Once those are removed ( or you can optionally find and fix the external libraries they depend on instead of removing them. ), your application should build just fine. Make sure your Android device is plugged in and has debugging enabled ( in the settings on the device ). Right click your project, select Run As… Android Application
A few seconds later, your application should appear on your device.
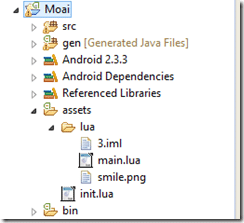
The actual lua code for your application will be located in the lua folder within the assets folder.
Happy Androiding!
If these instructions don’t work for you, do not be surprised.
1- Moai is under active development
2- The whole Java build system is horrifically complex and exceedingly fragile
3- Eclipse is the devil
Installing Cygwin
Cygwin is a unix like environment for windows and is critical to successfully building the Android hosts with Moai. First thing download setup.exe from here (direct link to exe). Your browser may fight you a bit about downloading an executable directly.
Once downloaded, run setup.exe, saying yes to any security prompts.
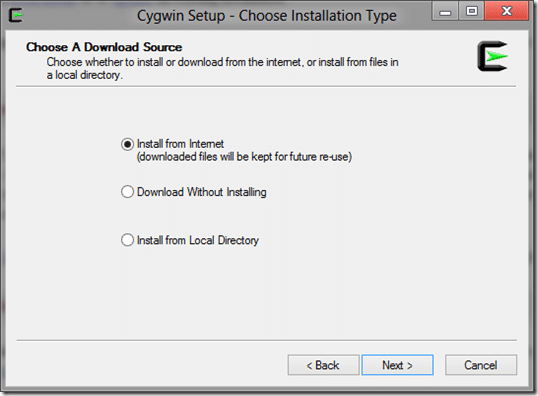
Select Download from Internet.
Click Next.
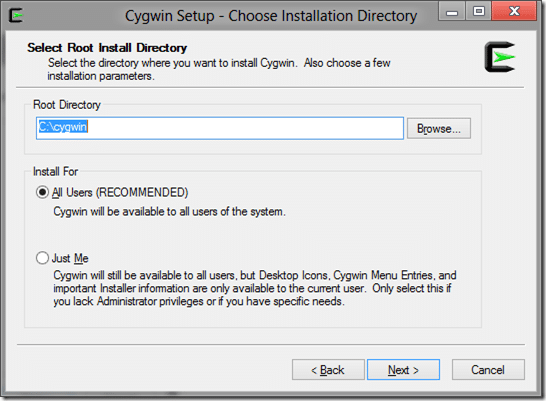
Pick whatever directory you want to install to, I kept the default of c:Cygwin.
Click Next.
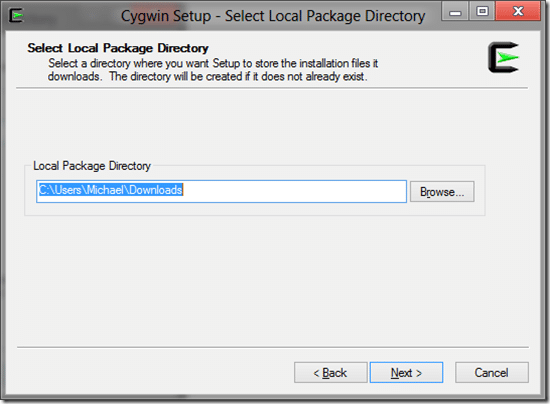
Next, you need to pick the directory to download to, again I just went with the defaults:
Click Next.
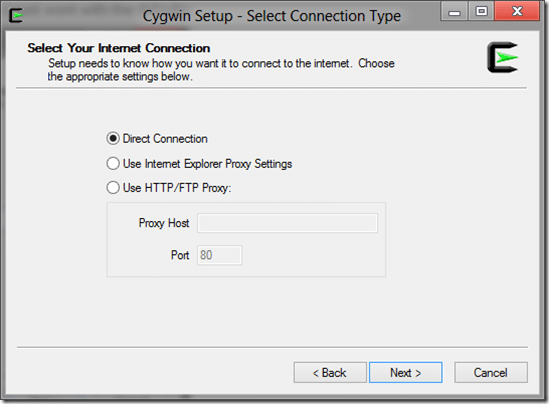
Defaults again unless there is something odd about your internet connection:
Click Next.
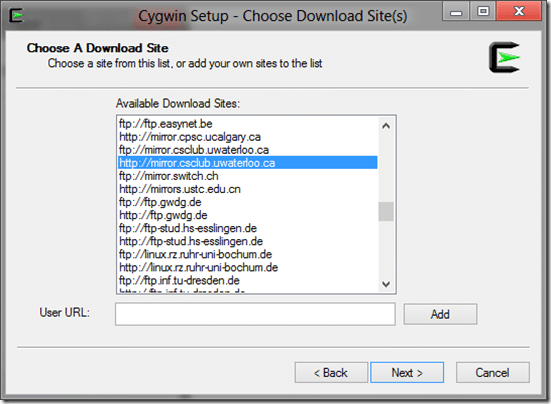
Select the download location that is closest to you, then click Next:
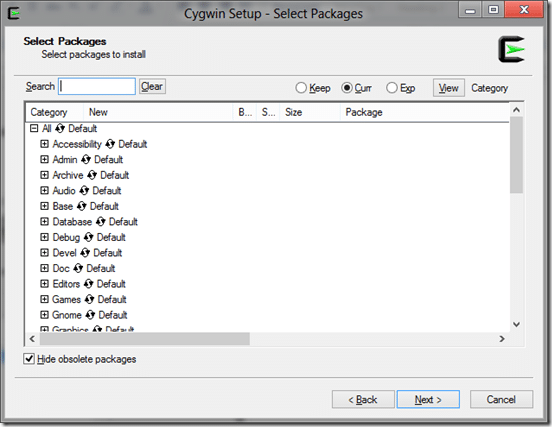
The downloader will run for a few seconds. You may get a prompt saying this is the first time you have installed Cygwin and be sure to check the documentation. Simply click OK. At this point, you will get a window asking you to select the packages to install, like so:
Install the devel selection of tools, simply click the icon beside the Devel tree and it will switch from Default to Install, like this:
NOTE: *** You don’t actually need the entire Devel tree and this process will take a really long time to complete ( two hours on my laptop ) if you select the full Devel tree. However, selecting all developer tools guarantees that you get everything required as part of the build process. You can experiment with selecting individual packages if you wish.
Click Next.
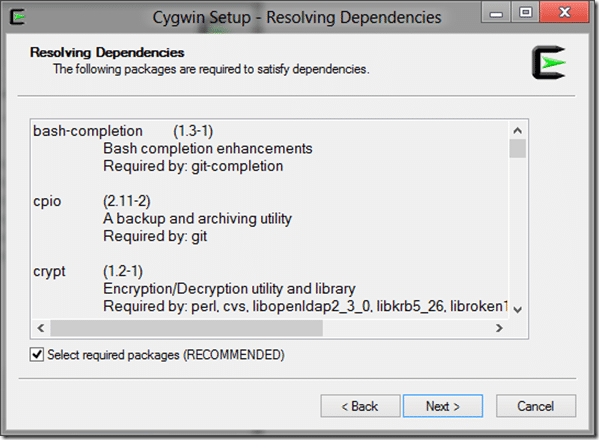
You will most likely get a prompt about resolving dependencies, like so:
This is normal, click Next.
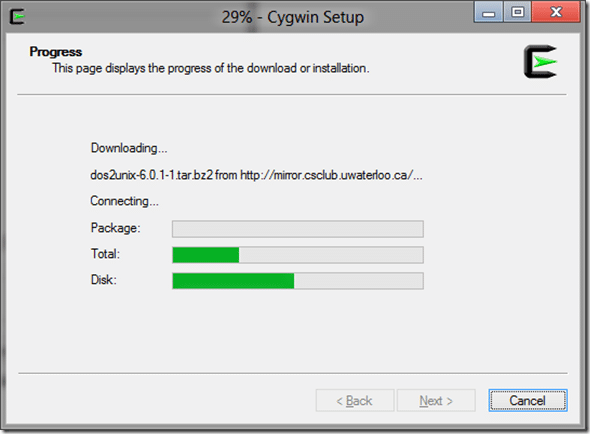
Setup will now download all of the packages you have selected:
This process is not… short. Have patience, lots of patience. Have you considered picking up a new hobby? Knitting perhaps? Go for it! You have plenty of time.
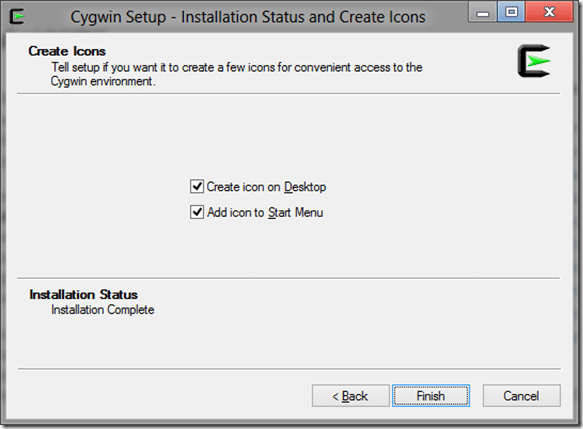
Cygwin installation is now complete.
You can always run setup.exe again if you want to enable or remove features in the future.
Cygwin is now configured.
Installing the Android NDK
Head over to the Android NDK page and download the appropriate file. I went with android-ndk-r8b-windows.zip, but this will obviously change in version name over time.
Once downloaded, open the archive and extract the folder inside to somewhere on your drive. In my case, the folder was called android-ndk-r8b and I extracted it to c:. After it is extracted, rename it to android-ndk. There are 17,000+ files in that archive, so expect it to take a while to extract.
Later in the process, Moai will need to know the location of the NDK, specifically ndk-build. The easiest way to make this file discoverable is to add it to your path environment variable, this can be configured via the command line:
setx PATH ‘%PATH;c:android-ndk’.
The NDK is now installed.
Installing the Java JDK and set the JAVA_HOME environment variable
You need to have a Java JDK installed and configured.
Download the JDK from this website. Chose whichever version you want, it shouldn’t matter. There are some annoyances with using Android tools with Java 7 ( 1.7 ), so Java 6 may be the best choice for now.
Once downloaded and installed, be sure that JAVA_HOME is set to your install directory. Mine, for example, is c:Program FilesJavajdk1.7.0_03
Once again, you can set this environment variable from the command line using the setx command.
Installing Apache Ant
Go here to the Apache Ant download page and download the zip file. I selected http://apache.mirror.nexicom.net//ant/binaries/apache-ant-1.8.4-bin.zip.
Open the archive and extract the folder (apache-ant-1.8.4 in this case ) to a location on your drive. I went with c: again.
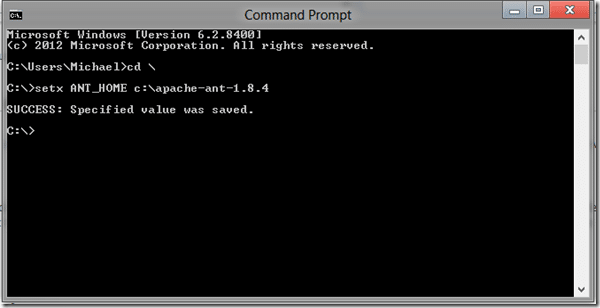
Set the environment variable ANT_HOME and point it to this directory ( c:apache-ant-1.8.4 in my case), you can do this from the command prompt with the command:
setx ANT_HOME c:apache-ant-1.8.4
Like so:
Ant is now configured.
Installing the Android SDK, Eclipse and the Android Plugins
You can download the Android SDK here, which full instructions here. Be sure to install at least the Android 2.2 ( Platform 10 ) platform as described here.
The first half of this guide covers the installation process for installing Eclipse. You need to install Eclipse as well as the Google ADT to complete this process. Eclipse 3.7 or 3.8 will work, although might require a minor change during the install process.

